Building Your Own Climbing Wall
What do I need?
Before you start building your wall, make sure you have assembled all of the following- Lumber
- Drill
- 7/16” drill bit
- Hammer
- Allen wrench
- T-Nuts
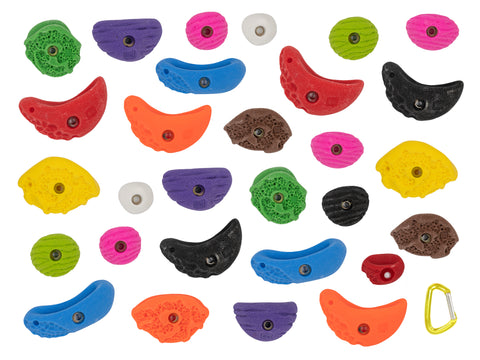
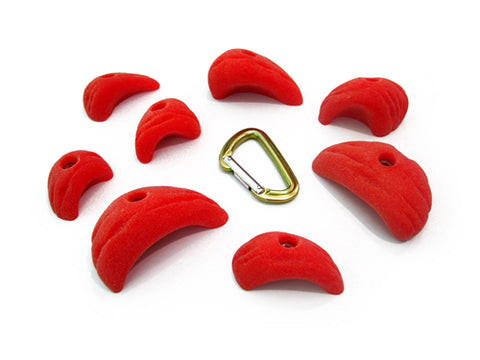
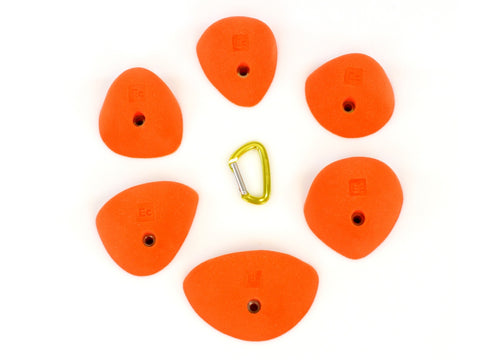
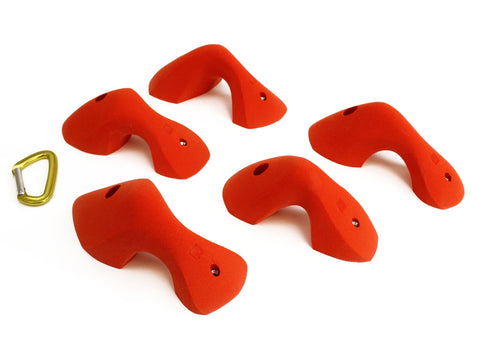
- Climbing holds
- Bolts
What should I build the wall out of?
Use one of the following recommended materials for do-it-yourself climbing walls:Indoor
- ¾” untreated plywood
Outdoor
- ¾” treated plywood
- 2” x 6” pressure treated lumber, or
- 5/4” pressure treated deck boards
- Note: If you build an outdoor wall, we recommend using stainless steel bolts.
How do I mount the Holds onto my Wall?
You mount holds by screwing the bolts into T-Nuts. Make sure you have the correct bolts for the wall you are building:| Indoor |
 |
|
| Outdoor |
 |
|
What is a T-Nut?
A threaded steel fastener mounted to the back of a climbing wall that allows you to bolt climbing holds onto a wall.How many T-Nuts will I need?
We recommend 2-3 T-Nuts per square foot of climbing surface. That’s approximately 75 per 4’ x 8’ sheet of plywood.How do I Prepare the Wall for T-Nuts?
Before putting holds on a wall, you need to think through how you want them arranged on the wall. Below we’ve included instructions on how to prepare your plywood and lumber for installing T-Nuts.Arranging T-Nut holes on Plywood
Below we’ve listed the most common ways to arrange your T-Nuts and provided a refresher on the most effective way to drill holes.There are three common ways to arrange T-Nuts. These options are shown on a standard 4’ x 8’ sheet of plywood.
Random 
|
Square Grid 
|
Staggered Grid 
|
Random – Easiest Method
The random method does not require much planning. Simply drill holes in random locations, approximately 8" apart. This method gives the holds a more natural spacing.Square Grid - Least Preferred Method
The square grid method is easy to set up with all holes spaced 8” apart; however, the holds will be installed in straight lines and have a more unnatural appearance.Staggered Grid - Preferred Method
The staggered grid method requires the most planning. The main advantage to this method is that your T-Nuts will have equal 8” spacing across the entire wall. In addition, when your studs are spaced at 16" on center they will not interfere with the T-Nuts. All sheets should be oriented in the same direction, either vertical or horizontal. Do not mix orientations or the grid will not align properly.
Example showing perfect T-Nut spacing and stud alignment across multiple sheets of plywood

Arranging T-Nut holes on Lumber
If you are installing T-Nuts in 2” x 6” treated lumber or deck boards for outdoor climbing walls or play sets, we suggest using a staggered grid with holes spaced 12” apart. You may need to adjust the spacing depending on the length of your lumber. We recommend setting the lumber vertically as shown with spacing kept to a minimum to prevent fingers from getting caught in the gaps.
Example showing hole placement in 6" wide lumber wall

Drill the Holes
Drill holes in your wall with a 7/16” drill bit. Drill slowly to create a clean hole and minimize splintering the wood. Make certain that these holes are perpendicular to the surface of the wood. Space holes as desired; holes about 8” from each other provides good coverage. Drilling more holes allows for higher hold density and rotation options.
How Do I Install the T-Nuts?
Using a hammer, pound a T-Nut into each hole from the back of the wall. Make sure that the T-Nut is pounded flat and square with the wood.